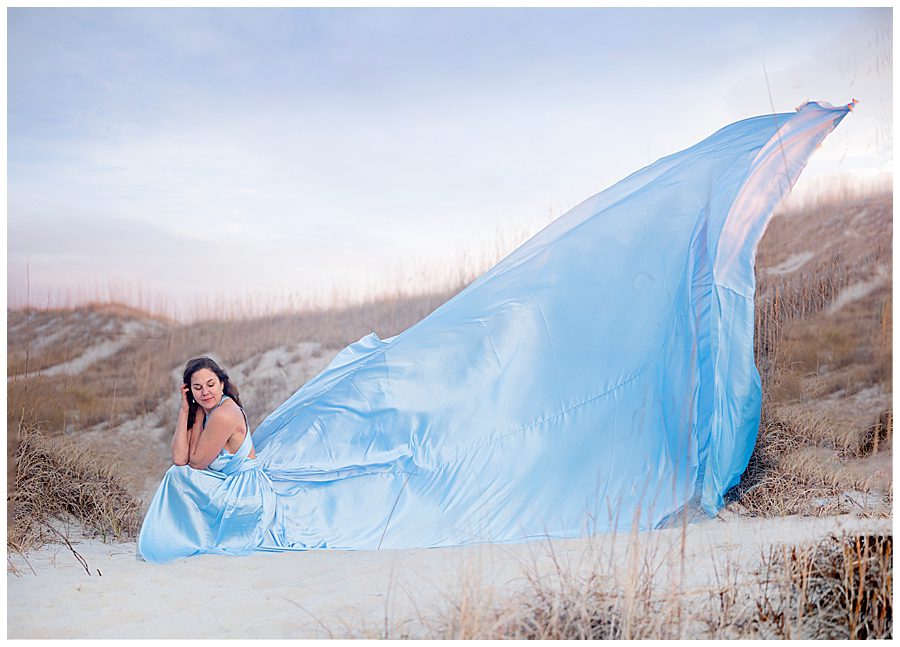
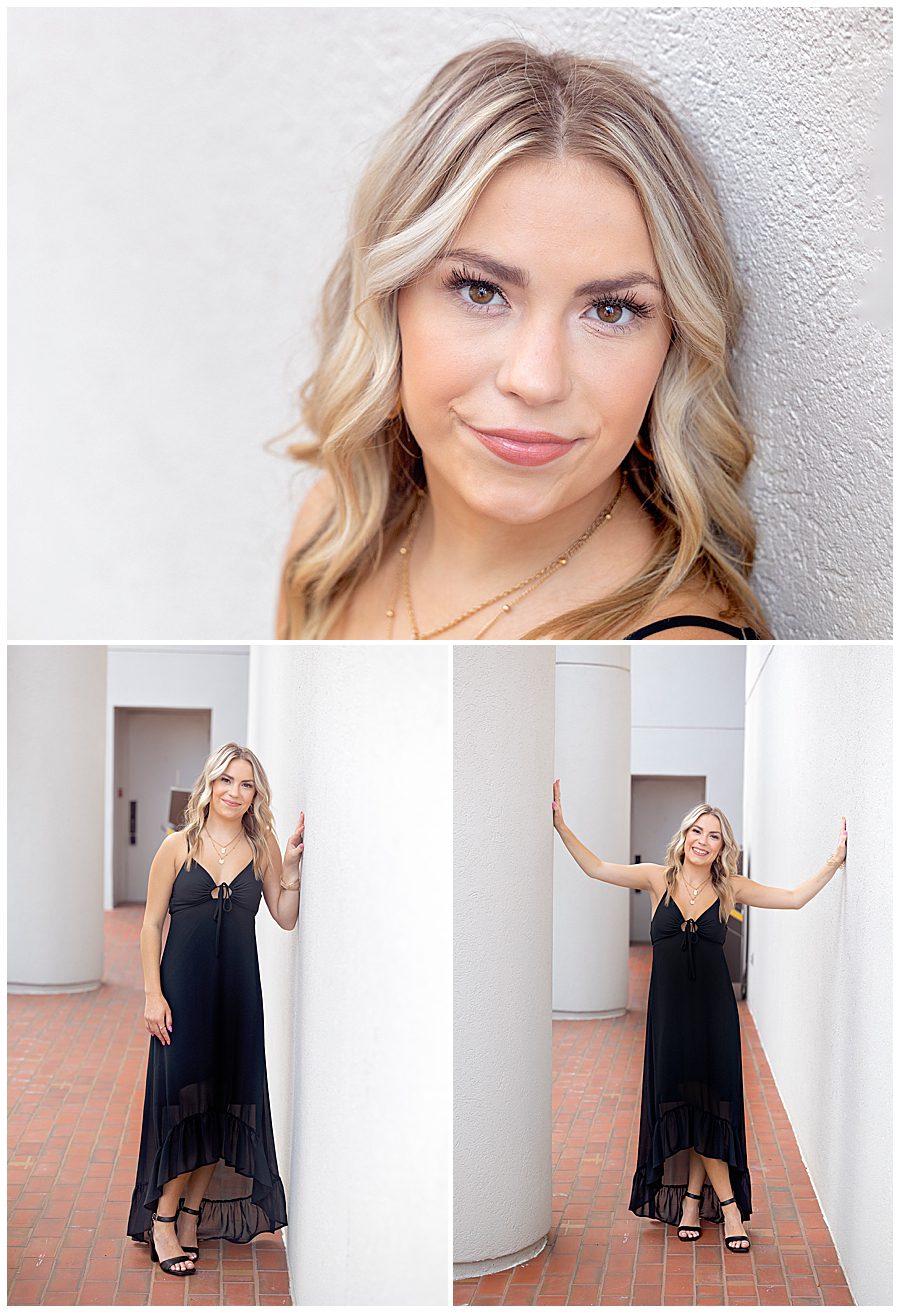
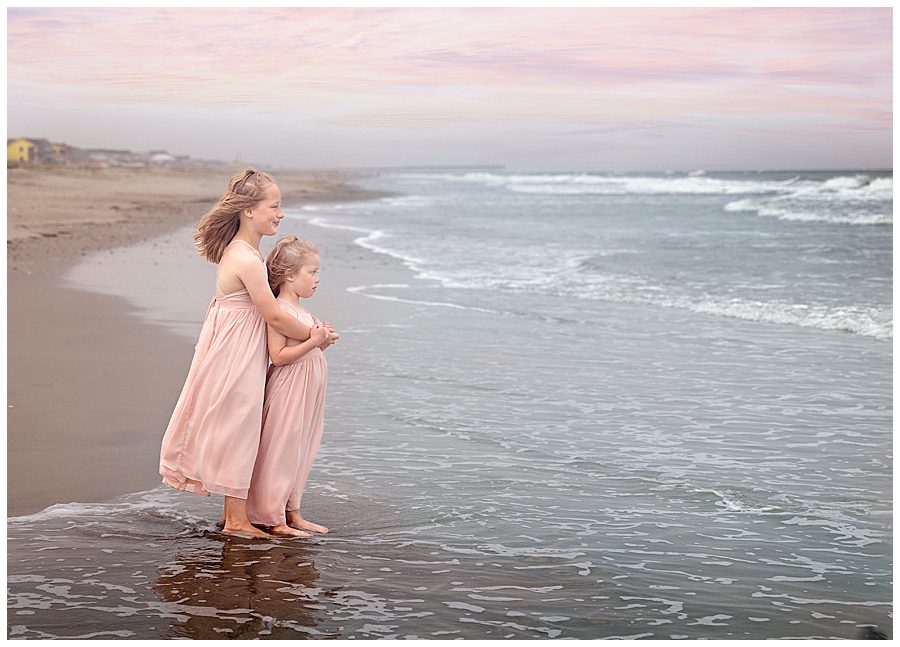
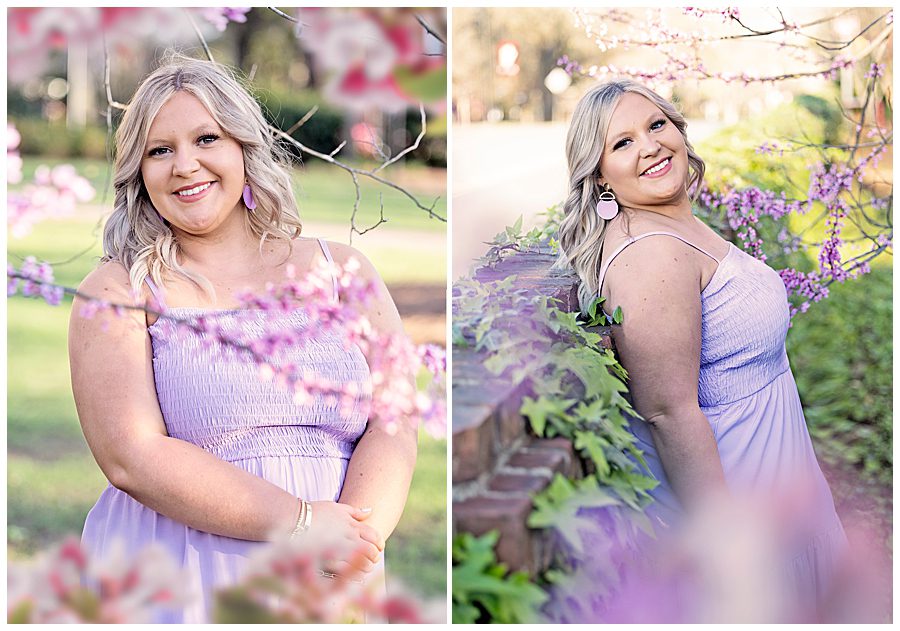
So the last few days I’ve had a lot of inqires about my work lately and what I’ve done as it seems different! I will say that there is nothing specifically that I’ve done, but as photographer I hope and pray that I continue to grow in my art! That I strive and push myself for excellence! I will not change my style, but I continue to work to do better. This year, I have committed to striving for the “perfect” session! What started this? Well last fall I had a client call me and ask if I could fit them in. I was stressed, and really didn’t have the time to, but I did. As I arrived at the session, I prayed and asked God to help me do the best that I can to capture that client. They were dressed perfectly, the kids were amazing, the light was great, the location was fun…and as I snapped I realized that I was having a close to a perfect session as possible. It didn’t end there…my editing was so easy! It went quickly, I was so excited! So what made it so easy? I kept this in the forefront of my mind all December and I realized the following:
- preparation for my session: I knew the location really well (I’ve shot there several times) It offered a mix of rustic and urban…perfect for me!
- Light: I always shoot an hour before sunset and this confirmed to me how important that was
- preparing my clients: I had spent some time with them talking about outfits, ideas etc for the session. They were ready!
- Including dad: It always is a HUGE plus if dad gets involved! Helps with connections and also with the kid
- Correct settings in camera: I will talk more about this later
- Editing: I really limited my the number of images I presented (too many images makes it too hard for your clients)
So back to getting things right in camera: First, let me say, that I will always edit an image, no matter how great it looks in camera…I truly LOVE photoshop and I love what it does to my images. BUT I have no problem with cutting my editing in half. So here are some tips in getting better image in camera!
Exposure: I would say this is a key for getting images right in camera! There are three things that factor into Exposure….It’s called the Exposure Triangle…they work together. If you are just starting out (not on auto) I would highly recommended that you put your camera into the Aperture setting. This will eliminate the shutter speed part of your triangle. Most cameras also have an Auto ISO so that that will eliminate that part. So then you are just working on the F stops. The lower the amount of people the lower your f stop the higher the amount of people the higher the f stop. Ideally if you are photographing 1 subject…..you will shoot wider open which means that you will shoot around 2.0 but if you have a family then I would raise it to 8.0
- Aperture : Think of it as the iris of our eyes, if an environment is too bright, the iris close up to restrict the amount of light entering our eyes, if it gets dark, it dilates and more light enters. Similarly, all cameras have this ‘iris’ called the aperture to control the light entering. Some cameras have fixed apertures while most in the market now have variable ones. Usually denoted by the letter ‘ f ‘ followed by a stroke ‘ / ‘. Like “f/2.8, f/4.1, f/8.0…” how the number comes about is simple but let’s not get too technical at this point. Remember, the smaller the f-number the bigger the aperture and more light enters.
- Shutter : This is the “eyelids” of the camera system. Our human eyes has the ‘shutter’ open all the time because we need to see motion. However, cameras only need the shutter to be open for a fraction of time to ‘freeze’ a frame in time to be captured by the sensor to become a still photograph. T here are 2 types of shutters in cameras these days, the mechanical and electronic. Most point and shoot cameras uses the electronic shutter while many Digital SLR (Single Lens Reflex) cameras use either mechanical or a combination of both shutters. Regardless of which shutter type, the function is the same and it shouldn’t bother you at all. The longer the shutter time, the longer it stays open and more light passes through.
- ISO : Used in the film days to denote the sensitivity of film to light, in present digital photography days. It does mean the sensitivity of the image sensor to light to some extend, but I would rather call it the “amplification” than “sensitivity”. In short, the higher the ISO number the more sensitive the sensor is to light, and therefore it can capture images better in dark environments. Common numbers range from 50 to 800. Most modern day cameras offer ISO up to 6400 and even 12800. Of course there are trade-offs for higher ISO called digital ‘noise’ but we’ll cover that later.
This all takes lots of practice and is not something that you can just leave it and forget it like you do your crock pot. You need to shoot and then look at your image and adjust. It’s hard…I am not someone who will say if you are shooting in A then you are not a photographer, but I will say, if you keep your setting on auto, then you should take some time and learn your camera! I know this is heavy stuff, but read this, read it over and and over and try to digest it!
Composition: It’s what will make a boring image exciting! This will take some time to get the hang of, but you need to really look through your lens and think about what you are capturing….think about the following:
- Is there too much empty space
- Is it too symmetrical
- Is there connection (between people)
- Am I cutting off limbs
- If I change my vantage point will this make a difference
- Can I frame this shot (with something that is environmental)
- If I move the subjects will the light be better
Remember you are the photographer, you can change anything you need for the best shot. If something isn’t working…then change it! I had a session the other day and I had to move the client 4 times to get just the right light. Now there was a day that I would have just shot it anyway. Not anymore! It’s about taking some time. It’s about being in charge of your shot!
Sharpness: I’m such a stickler on this…I love my images super sharp! A few things that will help with this
- Make sure you are not tired when you shoot (it helps reduce the camera shake) especially if you have a heavy lens.
- make sure the lighting is correct. The higher the ISO the more noise and the less sharp your image will be
- Keep your focal point on the eyes….for me, as long as the eyes are super sharp, then really nothing else matters.
So I know that this is deep…and sometimes really confusing, but I challenge you to really practice these things. Really look through your viewfinder at your subjects and their surroundings! I’m excited for you…I’m excited for us! We are going to all be better photographers!
Let me know if you have any questions!
If you are a reader to this blog, you know I often teach a class called “How Does She Do That?” which is a 8 week photoshop class. I’ve also started (as a part of Teaching Thursdays) to offer a shorter version of the class! The first one is next week! Contact me if you want to sign up…space is limited!


no comments